
Contents
After exposure, you need to identify the contamination type before you touch anything else. Then you isolate and ventilate the cab, remove loose debris, and clean all affected surfaces with the right agent. You’ll also need to sanitize high-touch points and dispose of contaminated waste in sealed, labeled bags. The final check isn’t optional, because one missed residue can change the vehicle’s status—and that’s where the process gets critical.
Key Takeaways
- Identify the contamination type in the cabin, cargo area, and touch surfaces before starting cleanup.
- Ventilate and isolate the vehicle by opening windows and running HVAC in fresh air mode.
- Remove trash and loose debris, then bag contaminated waste immediately in sealed, labeled containers.
- Clean and disinfect surfaces with approved products, keeping them wet for the required dwell time.
- Finish with a full inspection, document findings, and confirm the vehicle is safe for return to service.
Identify the Type of Vehicle Contamination
Before you begin decontamination, you need to identify exactly what type of contamination the vehicle has. You’ll assess the cabin, cargo area, and touch surfaces for evidence of chemical exposure, biological hazards, or mixed residue.
Document visible stains, odors, powders, fluids, and damaged materials, then match them to likely contamination sources such as spills, body fluids, smoke, or carried debris.
Check environmental factors like heat, moisture, and ventilation history, because they affect spread and persistence. Use the vehicle’s exposure context to prioritize hazards and determine whether the event is isolated or widespread.
When you classify the contamination correctly, you join a process built on accuracy, protect your team, and prepare the vehicle for the right decontamination path without unnecessary steps.
Ventilate and Isolate the Cab
Open all windows fully to increase airflow through the cab and reduce contaminant concentration.
Seal off contaminated areas with barriers or tape so you prevent spread into clean zones.
Then run the HVAC system in fresh air mode, not recirculation, to flush the cabin with outside air.
Open Windows Fully
Roll down every window fully to create maximum cross-ventilation in the cab before you begin any internal decontamination work. You’ll improve air circulation and reduce trapped contaminants by keeping every opening unobstructed.
Check window safety first: confirm the glass moves smoothly, stays locked in position, and won’t drop unexpectedly while you work. If the vehicle has power windows, use the controls carefully and keep hands clear of tracks and seals.
Stand with the cab door open only as needed, then step back and let airflow move through the cabin for several minutes. You and your team should treat this step as a shared control measure, because consistent ventilation helps everyone work in a safer, more organized space.
Maintain this setup until the next procedure begins.
Seal Contaminated Areas
After ventilation is established, seal off the contaminated cab so you can isolate the workspace and control airflow.
Close all doors, windows, and vents that don’t support decontamination, then apply approved seal techniques to gaps around hinges, seams, and pass-throughs. You’re protecting your team’s effort here, so inspect each edge for leakage and adjust immediately.
Use disposable barriers or tape rated for contamination prevention, and keep them tight without blocking access to controls you still need.
Label the vehicle as restricted, and limit entry to trained personnel only. If you find damaged weather stripping or torn trim, cover it before proceeding.
These steps help your group maintain a controlled zone, reduce spread, and keep the cab ready for the next decontamination action.
Run Fresh Air Mode
Set the HVAC to fresh air mode so outside air flows through the cab and helps purge trapped contaminants.
Keep windows closed if your protocol requires isolation, or crack them only as directed.
You’ll maintain controlled ventilation by running the blower on high for several minutes, then cycling to lower speeds to stabilize airflow.
This step supports fresh air benefits by diluting airborne residue and reducing odor persistence.
Use air circulation techniques that move air across the entire cabin, including foot wells and rear seats, without recirculating the same contaminated volume.
Stay outside the vehicle when possible, and monitor the interior for lingering fumes before reentry.
Work as a team, follow your decontamination checklist, and confirm the cab’s air is clear before proceeding.
Remove Trash and Loose Debris
Begin by clearing out all visible trash and loose debris from the vehicle interior and cargo areas. You should wear disposable gloves and bag items immediately to support controlled trash removal and reduce cross-contact.
Work from top to bottom, then front to back, so you don’t miss hidden material under seats, in pockets, or along floor mats. Use debris management steps that keep collected waste contained in a sealed liner or secondary bag.
Remove papers, food wrappers, dirt clumps, and any loose personal items you can safely isolate. Keep your movements deliberate and organized; this helps your team stay aligned and protects the vehicle for the next decontamination step.
When finished, seal and label the waste bag according to your site procedure, then place it in the designated holding area.
Clean Vehicle Surfaces Safely
With the loose debris removed, you can clean the vehicle’s hard surfaces using the approved disinfectant and the correct dwell time.
Match cleaning products to surface materials, because vinyl, plastic, and coated metal react differently across vehicle types. Wear protective gear and verify your safety equipment before you begin.
Use low-lint wipes or disposable cloths, and apply steady cleaning techniques that move from the cleanest area toward contamination sources.
Follow these decontamination methods:
- Read the label and dilution instructions.
- Test compatibility on a hidden spot.
- Saturate the cloth, not the surface.
- Keep the surface visibly wet for the full dwell time.
- Dispose of used materials safely.
You’re part of the crew when you document completion and reset your kit.
Sanitize High-Touch Areas
After the hard surfaces are disinfected, you should focus on the vehicle’s high-touch points, where contamination is most likely to spread.
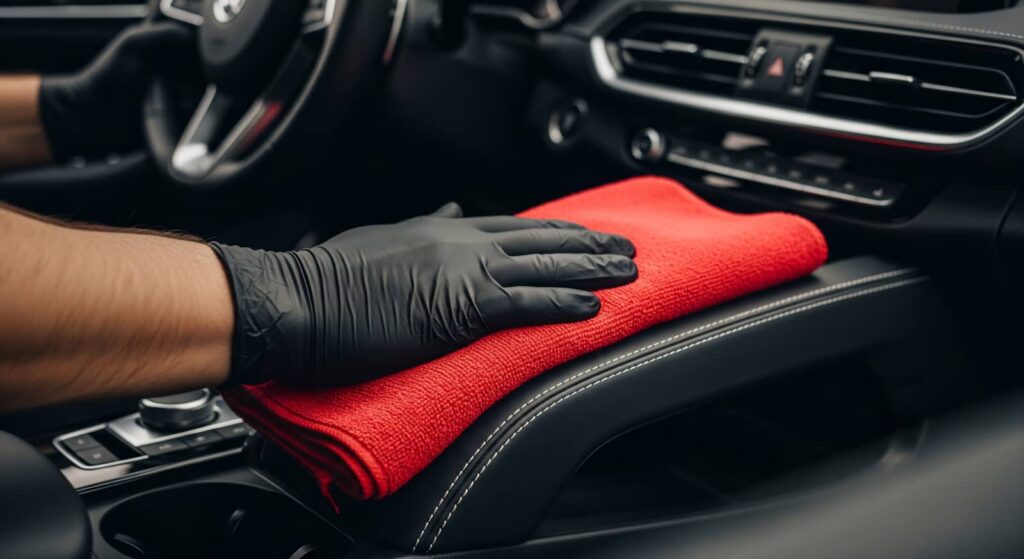
Wipe the steering wheel, door handles, gear selector, seat controls, turn-signal stalks, infotainment buttons, and buckle latches with approved sanitizing products. Use clean microfiber cloths and follow the contact time on the label.
Apply steady pressure, overlapping strokes, and replace cloths when they become visibly soiled. Use separate cleaning techniques for textured seams, seams around switches, and tight crevices; a soft swab helps you reach recessed areas without damaging trim.
Keep your workflow organized so you and your team stay consistent, protect one another, and complete decontamination with confidence.
Check each surface for residue, then re-sanitize any missed spots before returning the vehicle to service.
Dispose of Contaminated Waste Properly
Place all contaminated materials in approved contaminated waste bags and seal them immediately after collection.
Label each bag with the required hazardous waste markings so handlers can identify the contents and manage them safely.
Transport the sealed bags to designated safe disposal sites in accordance with local disposal procedures.
Contaminated Waste Bags
Once the contaminated waste bag is full, seal it tightly to prevent leaks and remove it from the vehicle decontamination area without compressing the contents. You support safe waste management by keeping the bag intact and limiting handling after closure.
Use consistent bagging techniques so your team can work efficiently and stay aligned.
- Check the bag for punctures before moving it.
- Lift it by the top only.
- Keep it upright during transport.
- Place it in the designated collection container.
- Wash your gloves after transfer.
You belong in a system that treats every step as controlled and deliberate. If the bag tears or shifts, stop and replace it immediately.
Maintain clear workflow, prevent cross-contamination, and keep the decontamination area organized and secure.
Hazardous Waste Labels
Before you move contaminated waste out of the decontamination area, verify that each bag or container is labeled as hazardous waste with the correct contents, date, and handling warnings.
You should inspect every label for legibility, durability, and placement on the outer surface. Match the description to the waste stream, and add your initials if your protocol requires it.
Keep labels intact during sealing, transfer, and temporary storage so your team can trace the material without delay. Follow applicable hazardous waste regulations and your site’s labeling requirements exactly; missing or unclear labels can create compliance gaps and extra exposure risk.
When you work this way, you help your crew stay organized, protect one another, and maintain a shared standard for safe, accountable cleanup.
Safe Disposal Sites
After labeling, you must move contaminated waste to an approved disposal site or designated hazardous waste accumulation area without delay. You verify the site accepts your waste stream, follows local regulations, and provides secure containment for your team’s materials.
- Confirm manifest and label details
- Segregate liquids, solids, and sharps
- Use closed, compatible containers
- Keep spill kits nearby
- Document transfer time and destination
If your facility uses recycling programs, route eligible components separately before final disposal. You’ll protect coworkers, keep your crew compliant, and reduce cross-contamination by using only authorized drop points.
Never leave waste unattended, and never mix incompatible residues. When you follow the approved path, you help your decontamination team stay organized, safe, and ready for the next vehicle.
Make Sure the Vehicle Is Safe to Use
Confirm the vehicle is safe to use by checking that all decontamination materials, tools, and waste have been removed and that no residue remains on interior or exterior contact surfaces.
Inspect seats, floor mats, steering controls, handles, and cargo areas under adequate light. Verify that ventilation systems run cleanly and that no odors, stains, or dampness persist.
If you detect any abnormal condition, stop use and repeat decontamination. Document the final inspection, including date, time, and your findings, so your team stays aligned on vehicle safety and contamination risks.
Only after you confirm the vehicle meets return-to-service criteria should you release it for normal operation. This final check protects everyone who depends on the vehicle and reinforces shared standards across your response crew.
Frequently Asked Questions
What PPE Should I Wear During Vehicle Decontamination?
Wear gloves, splash-resistant coveralls, eye protection, and a respirator matched to the hazard; add boots and face shield if needed. Your personal protective equipment should match the decontamination methods and exposure level to keep you protected.
How Long Should a Vehicle Remain Out of Service?
You should keep it out of service until decontamination’s complete, verification’s documented, and a supervisor clears it; your decontamination timeline depends on exposure severity, and service interruption ends only after inspection confirms safety.
Can I Use a Pressure Washer Inside the Cab?
No, you shouldn’t use a pressure washer inside the cab; pressure washer safety requires avoiding high-pressure spray on controls and electronics. Use interior cleaning techniques with low-pressure mist, approved detergents, and controlled wiping.
Should the HVAC System Be Professionally Inspected Afterward?
Yes—have it professionally inspected; hidden contamination can spread like wildfire through ducts. You’ll protect HVAC maintenance integrity and air quality, verify filters, blower, and evaporator are clean, and feel confident your team’s vehicle’s safe again.
How Do I Document the Decontamination Process?
You document it by completing a decontamination checklist, then logging dates, areas treated, agents used, PPE, photos, and signatures. Use consistent documentation methods so you can track compliance, share records, and reassure your team.
Conclusion
By following these seven steps, you reduce contamination risk and restore the vehicle to service efficiently. You’ve identified the hazard, ventilated the cab, removed debris, cleaned surfaces, sanitized high-touch points, and disposed of waste correctly. Contaminated vehicles can still showed residue after a single quick wipe, which shows why a systematic process matters. Finish with a final inspection, document your work, and only release the vehicle when it’s safe.
Recent Posts
Why Hire Asbestos Inspection and Abatement Services?
Like a hidden fault line beneath a finished wall, asbestos can stay invisible until the
Why Decontaminate Vehicles After Fentanyl Exposure?
You may not realize that fentanyl residue can hide in HVAC ducts, seams, and under
3 Tips for Vehicle Drug Decontamination
Most contaminated-vehicle response failures start with poor scene preparation, not the cleanup itself. Vehicle Drug