
Contents
A car can hide hazardous drug residue in the smallest seams and vents, so Car Drug Cleanup requires a controlled cleanup plan to avoid spreading contamination. Start by inspecting the interior and documenting what you find. Then protect yourself, remove debris with disposable tools, disinfect for fentanyl, and verify the vehicle’s condition before allowing anyone back inside. The process needs to be handled carefully because missed residue can remain in hidden areas.
Key Takeaways
- Inspect the car thoroughly for visible drug residue, hidden debris, and suspicious materials before touching anything.
- Wear nitrile gloves, a fitted mask or respirator, eye protection, and protective clothing before starting cleanup.
- Collect loose debris with disposable tools and seal it immediately in chemical-resistant bags.
- Clean hard surfaces with an approved fentanyl disinfectant, following label directions and required wet contact time.
- Reinspect the vehicle for remaining residue, odors, or damage, and call a remediation professional if needed.
Inspect the Car for Drug Residue
Start with a careful visual inspection of the entire vehicle, including seats, floor mats, console compartments, cup holders, door pockets, and any hidden storage areas, for visible residue, packaging, or paraphernalia.
You should document findings with precise notes and photos to support drug detection and residue identification. Check seams, vents, under seats, and around child-safety anchors, where debris often collects.
Use consistent lighting and inspect each surface methodically so you don’t miss small traces that matter to your team. If you notice suspicious powder, crystals, stains, or burnt materials, avoid touching them and mark the location for later handling.
A disciplined scan helps you fit in with a safety-minded crew and keeps the cleanup process controlled, efficient, and evidence-aware from the start.
Protect Yourself Before Cleaning
Before you touch any residue, put on disposable nitrile gloves, a fitted mask or respirator rated for the contaminants you may encounter, and eye protection to reduce direct exposure.
Choose protective gear that fits snugly and stays intact during the job. If you’re in a team, make sure everyone uses the same standard so no one gets left unprotected.
Keep exposed skin covered with long sleeves, pants, and closed shoes. Wash your hands before and after gear changes, and replace any torn item immediately.
These steps lower health risks from inhalation, skin contact, and accidental transfer. Stay alert for dizziness, irritation, or unusual odors, and stop if conditions feel unsafe.
You’re safer when you prepare first and protect each other consistently.
Remove Drug Debris and Residue
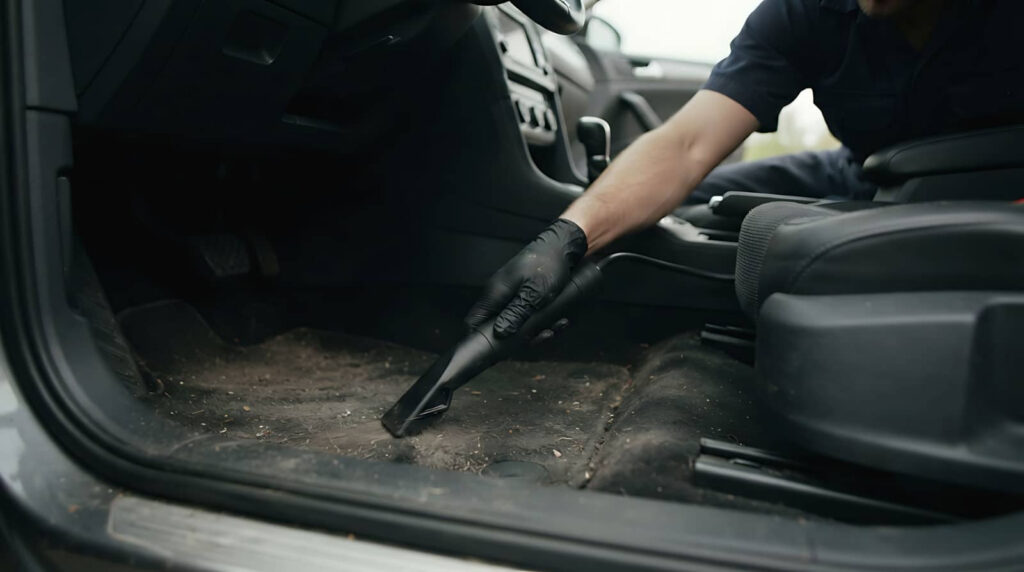
Pick up loose debris with disposable tools and place it directly into a sealed, chemical-resistant bag or container. You’re reducing spread, protecting your team, and keeping the vehicle controllable.
During drug identification, watch for baggies, foil, pipes, powders, and capsules; don’t sort or taste anything. Use cleaning supplies only after removal, and choose lint-free wipes, disposable scrapers, and dedicated waste bags.
Collect visible fragments from seats, mats, seams, and vents.
Seal each load immediately to prevent accidental exposure.
Check hidden crevices with a flashlight, then repeat until the surface looks clear.
Work methodically, avoid brushing debris into the air, and keep your tools separate from other jobs. Your careful cleanup helps everyone on the scene stay safer and more confident.
Disinfect the Vehicle for Fentanyl
Once visible drug debris is removed, disinfect the vehicle with a product specifically approved for fentanyl contamination and follow the label contact time exactly.
You should wear gloves, eye protection, and, if required, respiratory protection while you work.
Apply the disinfectant to hard, nonporous surfaces first, then keep them wet for the full dwell time so the chemistry can neutralize fentanyl hazards.
Use fresh cleaning supplies for each area to avoid cross-contamination, and never mix products unless the label says it’s safe.
Treat high-touch points such as handles, buckles, consoles, and seat frames with care.
If the odor or residue persists, repeat the labeled process rather than improvising.
Your safety team relies on disciplined steps, and you belong in that standard of careful cleanup.
Make Sure the Car Is Safe Again
After the cleanup is complete, verify that the car’s surfaces are dry, residue-free, and safe to touch before anyone uses it again. You should inspect seats, belts, handles, vents, and consoles under bright light, then wipe any remaining film with clean disposable cloths. This final check protects car safety and lowers health risks for every passenger.
Test for lingering odor or visible dust; both can signal incomplete removal.
Confirm all cleaners have fully evaporated, especially on fabric, plastic, and metal.
Reinstall removed items only after they’re clean, sealed, and uncontaminated.
If you’re unsure, keep the car out of service and ask a qualified remediation team to recheck it.
When you verify everything carefully, you help your crew travel with confidence and peace of mind.
Frequently Asked Questions
Can I Clean the Car Without Professional Help?
Yes, you can clean it yourself if the contamination seems minor, but you should follow DIY cleaning methods and strict safety precautions. Wear gloves, ventilate the car, avoid disturbing residue, and know when to call professionals.
What Legal Steps Should I Take Before Cleanup?
You should first verify legal obligations and document the scene; think of a detective’s notebook—one missed detail can sink a case. Notify police, preserve evidence, and reduce liability concerns before you start cleaning.
How Do I Dispose of Contaminated Cleaning Materials?
You should bag contaminated cleaning materials in sealed, labeled containers and follow proper disposal rules for hazardous waste. Don’t mix them with regular trash; use approved collection sites so you’re protecting your crew and community.
Should I Document the Cleanup for Insurance Claims?
Yes, you should document the cleanup for insurance claims. You’ll support insurance documentation and the claim process with dated photos, receipts, and disposal records, helping your carrier verify loss, protect coverage, and keep your team aligned.
When Should I Call Emergency Services During Cleanup?
Call emergency services immediately if you find unknown powders, strong odors, needles, bleeding, or anyone showing overdose signs; you’re facing urgent health risks, and emergency response crews can secure the scene safely.
Wrap-Up
When you finish, treat the car like a sealed vault after a storm: every surface may hide a threat. You’ve inspected, protected yourself, removed debris, and disinfected with care. Now verify the cabin is dry, residue-free, and safe to enter again. If anything still feels uncertain, don’t guess—bring in a professional remediation team. In this work, caution isn’t extra; it’s the lock that keeps harm out and safety in.
Recent Posts
3 Tips for Vehicle Drug Decontamination
Most contaminated-vehicle response failures start with poor scene preparation, not the cleanup itself. Vehicle Drug
7 Tips for Cost-Effective Asbestos Removal
Many U.S. workers still face asbestos exposure risks, which makes careful removal planning essential. Cost-Effective
Affordable Asbestos Testing and Safe Removal
Older homes may contain asbestos, so you can’t assume your property is clear without testing.